A home assistant pet feeder integration sounds useful because it connects pet feeding with the rest of the smart home. The feeder can become part of routines, notifications, logs, dashboards, and household automation. The risk is that pet feeding is not the same as turning on a light. A failed automation can mean a missed meal, a duplicate portion, or owner confusion about whether the pet actually ate.
For owners who want smart feeding without fragile setup, a smart automatic pet feeder with app control should first work reliably on its own. After that, a home assistant pet feeder integration can add visibility, reminders, routines, and safer checks without replacing the feeder’s core schedule.
Direct Answer: Home Assistant Pet Feeder Integration
A home assistant pet feeder integration connects a smart feeder to Home Assistant through a supported integration, cloud platform, MQTT, local API, smart plug monitoring, automation trigger, or device workaround so the owner can monitor feeding status, receive alerts, or coordinate pet-care routines. The safest setup keeps the feeder’s native schedule as the primary meal system and uses Home Assistant for verification, reminders, logging, and backup alerts.
The best rule is simple: do not let a smart-home automation become the only thing standing between the pet and a meal. A strong home assistant pet feeder integration should support the feeding routine, not replace basic reliability. The feeder still needs stable power, WiFi, calibration, cleaning, firmware updates, and manual backup rules.
Why This Happens
Home Assistant is popular because it gives owners one place to manage many smart-home devices. It can connect devices, build dashboards, create automations, send notifications, and trigger actions based on time, sensors, or device state. That makes it attractive for pet feeding, especially when owners already use smart lights, cameras, sensors, locks, plugs, and routines at home.
The official Home Assistant integrations directory lists the devices and services that Home Assistant can work with. For pet feeders, the important question is not “Can Home Assistant automate things?” The important question is “Does this exact feeder expose reliable entities, services, buttons, sensors, or events that can be used safely for feeding?”
A home assistant pet feeder integration becomes risky when owners assume every WiFi feeder has full local control. Many consumer feeders are app-first products. Some expose useful entities through platforms such as Tuya, MQTT, or other integrations. Others may not expose feeding commands at all. The integration method depends on the feeder model, firmware, app ecosystem, and network design.
What To Do First
Start with the feeder’s native app. Confirm that scheduled meals work, portions are correct, the feeder stays online, and manual dispensing is understood. Then decide what Home Assistant should do. It might send a notification after breakfast, show feeder power status, detect an offline state, remind the owner to clean the chute, or trigger a camera snapshot after a meal.
A practical home assistant pet feeder integration has five controls: native feeder reliability, supported integration path, measured portions, safe automation logic, and manual backup. Do not begin with complex automations. Begin with observation. Let Home Assistant monitor before letting it trigger feeding actions.
Use how to use a smart pet feeder before adding smart-home logic. A feeder that is not correctly scheduled, calibrated, cleaned, and tested should not be automated further.
The Automation Loop Behind Feeding Mistakes
The automation loop starts with a good intention. The owner wants the feeder to run when the pet enters a room, when a button is pressed, when a work calendar starts, or when a camera detects movement. The automation works once, so the owner trusts it. Then a sensor misfires, a condition is missing, or the feeder receives a duplicate command.
Now food appears outside the intended schedule. The pet learns that movement, noise, or owner attention can trigger meals. The owner then adds manual food because the automation log is unclear. The routine becomes less accurate than a simple timed feeder.
A better home assistant pet feeder integration starts with passive tracking. Log scheduled meals. Notify if the feeder is offline. Remind the owner to inspect the bowl. Only add feeding commands after the system has guardrails: time windows, maximum daily portions, duplicate-command protection, and manual override rules.
The Emotional Trigger Owners Miss
The emotional trigger is smart-home control. Once owners see a device inside Home Assistant, they want it to participate in automations. That instinct is normal, but pet feeding needs stricter rules than lighting or climate routines.
A light turning on twice is annoying. A feeder dispensing twice can affect weight control. A missed notification is inconvenient. A missed meal is a care issue. A home assistant pet feeder integration should be designed around feeding safety before dashboard elegance.
For feeding structure, use scientific pet feeding schedule. Home Assistant should support a measured schedule, not turn feeding into a collection of clever triggers.
The Addiction Mechanism
The addiction mechanism is automation reward. If a pet learns that standing near a motion sensor, camera, feeder, or button leads to food, the pet may repeat that behavior. The owner sees the pet near the feeder and assumes hunger. Automation then reinforces the behavior with another portion.
This is especially risky with camera feeders, treat-style commands, and manual Home Assistant buttons. The pet does not understand automation. The pet understands that certain patterns produce food.
A controlled home assistant pet feeder integration separates observation from reward. Sensors can confirm presence. Cameras can verify eating. Notifications can inform the owner. Feeding actions should remain measured, scheduled, and protected by conditions.
Integration Paths That Usually Matter
The cleanest setup is official support. If the feeder brand or platform appears in Home Assistant as a supported integration with stable entities, use that first. If the feeder is part of a platform such as Tuya, the official Home Assistant Tuya integration may expose supported devices and entities after account setup.
Another common path is MQTT. The official Home Assistant MQTT integration is often used when devices publish states or accept commands through an MQTT broker. MQTT can be powerful, but it requires a feeder or bridge that actually supports the right topics and payloads.
A weaker path is smart plug monitoring. A plug may show whether the feeder has power, but it usually cannot prove that food was dispensed. A smart plug can support a home assistant pet feeder integration as a power-status signal, not as a complete feeding confirmation system.
Automation Rules for Pet Feeders
Home Assistant automations are built around triggers, conditions, and actions. The official Home Assistant automation documentation explains how automations respond to events and run actions. For pet feeders, every automation should answer three questions: what starts it, what prevents duplicate feeding, and how the owner verifies the result.
A safe automation might notify the owner if the feeder goes offline before dinner. A riskier automation dispenses food when a motion sensor detects the cat. The second version needs strict controls: time window, daily limit, recent-feed lockout, and confirmation step.
A strong home assistant pet feeder integration should prefer alerts over automatic feeding unless the owner has verified the feeder command, portion amount, failure behavior, and duplicate protection. Meal automation should be conservative by design.
WiFi and Network Reliability
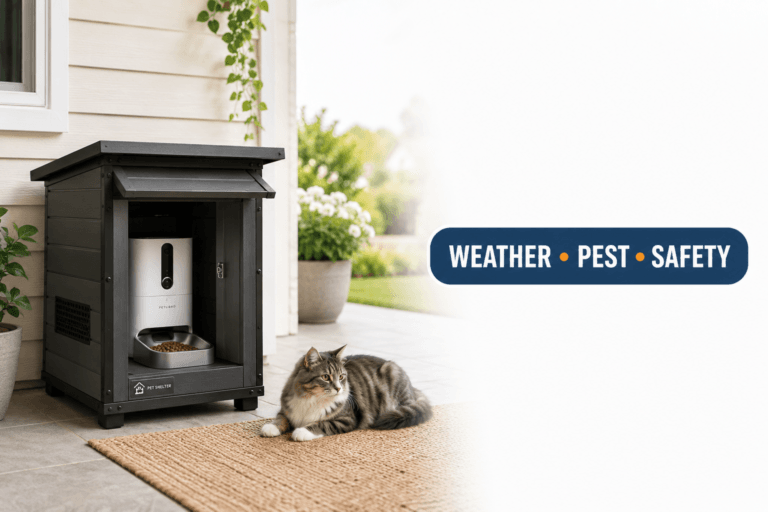
Most smart feeder problems are not caused by Home Assistant. They start with WiFi, power, or app setup. If the feeder drops offline, Home Assistant may only report the failure. It cannot fix a weak router signal, bad feeder placement, changed WiFi password, or unplugged power adapter by itself.
Before building a home assistant pet feeder integration, confirm that the feeder stays connected in its final location. Test the feeder near the router, then test it at the feeding station. If it works near the router but fails in the kitchen, hallway, patio, or garage, placement is the issue.
Use pet feeder WiFi connection and smart pet feeder offline before adding Home Assistant logic. Automating an unstable device creates a more complicated unstable device.
Security and Secrets
A pet feeder inside Home Assistant becomes part of the smart-home security surface. App tokens, API keys, MQTT credentials, cloud accounts, and camera access should be handled carefully. Do not paste sensitive credentials into shared screenshots, forum posts, or public configuration files.
The official Home Assistant secrets documentation explains how sensitive values such as passwords and API keys can be stored outside the main configuration file. This matters when a home assistant pet feeder integration uses YAML, MQTT, REST, or custom configuration.
For broader device habits, use smart device security. Feeding devices deserve the same account discipline as cameras, locks, sensors, and routers because they affect the household’s daily care routine.
Camera Feeder Integration
A camera feeder can give Home Assistant more useful context, but it also raises privacy and reliability questions. The camera should show the bowl, not the entire room. The owner should know who has access, whether video is local or cloud-based, and whether camera events are reliable enough to support feeding decisions.
For meal verification, a camera is useful. For automatic feeding based only on movement, it can be risky. A cat walking past the feeder is not the same as a missed meal. A dog standing near the bowl is not proof of hunger.
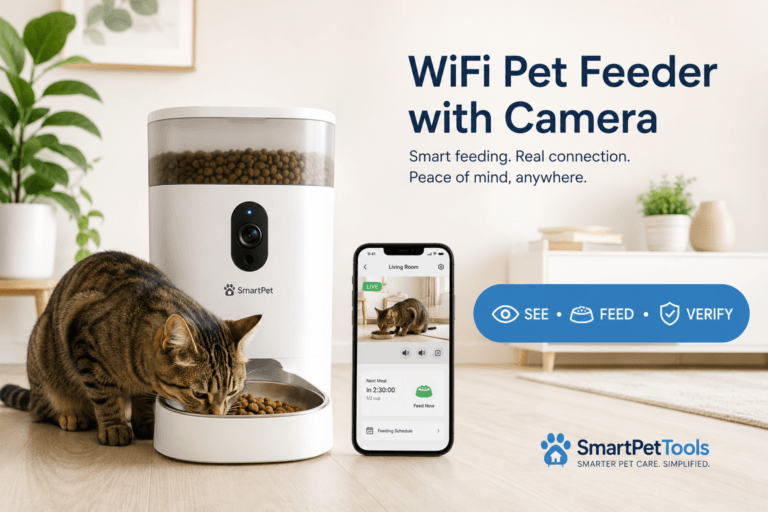
Use WiFi pet feeder with camera before building a home assistant pet feeder integration around video. The camera should confirm meals, not create a remote overfeeding loop.
Portion Control Still Needs Calibration
Home Assistant can log events, trigger actions, and show dashboards, but it does not know how many grams of kibble actually dropped unless the feeder exposes reliable data or the owner measures output. A button called “dispense” does not automatically equal the correct portion.
Use a digital kitchen scale. Run several test portions from the feeder. Calculate the average. Then decide whether any Home Assistant command should be allowed to dispense food. If one command equals an unknown amount, the integration is not ready for feeding actions.
Use pet feeder calibration. A home assistant pet feeder integration should be built on measured food output, not app labels or dashboard assumptions.
Maintenance and Firmware Checks
Home Assistant cannot compensate for a dirty food path. If the feeder chute is blocked, the bowl is dirty, the desiccant is saturated, or the food tank holds stale kibble, the automation may run while food still fails to reach the bowl.
A good integration should include maintenance reminders. Create alerts for cleaning day, desiccant replacement, portion testing, firmware checks, and manual inspection. These automations are safer than automatic feeding commands because they strengthen the feeder instead of adding new failure paths.
Use pet feeder maintenance and smart feeder firmware update. A home assistant pet feeder integration is only as reliable as the physical feeder underneath it.
Power and Backup Planning
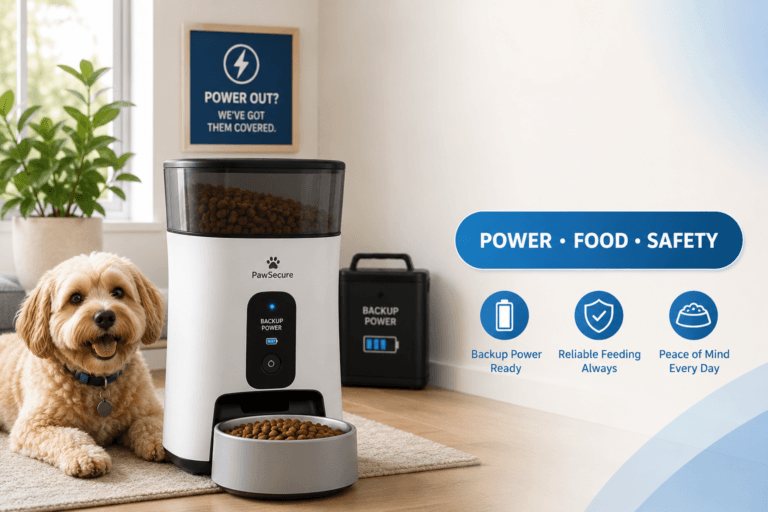
Power state is one of the most useful things to monitor. If the feeder loses power, the app and Home Assistant may both report problems, but the pet still needs a meal. Battery backup, outlet checks, cable safety, and manual feeding rules should be part of the setup.
A smart plug can sometimes help detect power availability, but it should not be used to repeatedly cut power to the feeder unless the product instructions allow that behavior. Frequent power cycling can create schedule, WiFi, or firmware issues.
Use pet feeder with battery backup and chew proof pet feeder cable. A home assistant pet feeder integration should monitor power risk without making power risk worse.
Common Failure Pattern
The most common failure pattern is building the dashboard before testing the feeder. The owner creates cards, buttons, icons, scripts, and automations, but the feeder itself is not calibrated, cleaned, or stable on WiFi. The result looks impressive and feeds poorly.
The second failure is using Home Assistant as a remote treat button. Manual feed controls are added to a dashboard, and multiple household members start pressing them. Daily food totals become unclear.
The third failure is assuming integration equals verification. A Home Assistant event may show that a command was sent. It may not prove the food landed in the bowl or that the right pet ate it. A home assistant pet feeder integration needs confirmation layers when feeding accuracy matters.
Real-World Impact
The real-world impact of a good integration is cleaner routine control. The owner can see feeder status, receive offline alerts, log meal events, track cleaning tasks, and reduce uncertainty during work, travel, or sleep. The pet gets a more stable routine because the owner has better information.
The impact of a weak integration is worse than no integration: duplicate meals, missed meals, dashboard confusion, broken scripts, false confidence, and panic feeding. Smart-home convenience should not make feeding less reliable.
A smart WiFi pet feeder with camera can help verify meals visually, but a camera does not replace measured portions, stable WiFi, app security, and a clear manual backup rule.
Can This Be Fixed?
Yes, weak Home Assistant feeder setups can be fixed by rebuilding the integration around safety instead of novelty. First, confirm the feeder’s native schedule. Second, calibrate portions. Third, clean and test the feeder. Fourth, add Home Assistant monitoring. Fifth, add notifications. Only then consider feeding actions with strict limits.
Run a seven-day integration test. Record scheduled meals, app status, Home Assistant state, offline events, actual bowl checks, manual feeds, duplicate triggers, WiFi drops, and pet behavior near the feeder. If Home Assistant and the feeder app disagree, trust physical bowl verification first.
For product selection, start with the smart feeders collection. Choose based on routine reliability, app control, cleaning access, portion testing, power backup, camera need, and whether the feeder can support the integration style you want.
Who Should Walk Away and Who Should Use This
Walk away from a home assistant pet feeder integration if the feeder is already unreliable, the WiFi is unstable, the owner has no backup feeding rule, or the household will press dashboard buttons without tracking portions. Also walk away from complex automations that feed based only on motion, camera movement, or owner mood.
Use a home assistant pet feeder integration if the feeder is already stable and the owner wants better visibility, reminders, offline alerts, maintenance tracking, camera verification, or smart-home dashboards. It is especially useful for shift workers, travelers, multi-pet homes, weight-control routines, and owners who already maintain Home Assistant carefully.
Cat owners can compare the cat feeders collection when smaller portions and quieter feeding matter. Dog owners can use the dog feeders collection when feeder stability, bowl size, and food volume need stronger control.
Mini FAQ
Can I connect a pet feeder to Home Assistant?
You can connect some pet feeders to Home Assistant when the feeder or its platform exposes a supported integration, cloud service, MQTT interface, local API, or usable device entity. Not every WiFi feeder supports direct Home Assistant control.
What is the safest Home Assistant pet feeder integration?
The safest Home Assistant pet feeder integration uses Home Assistant for monitoring, alerts, reminders, and verification while the feeder’s native schedule remains the primary meal system. Feeding commands should have strict limits and duplicate protection.
Can Home Assistant dispense pet food automatically?
Home Assistant can dispense food only when the feeder exposes a reliable command or service for dispensing. Before using it, test the command, measure the portion, prevent duplicate triggers, and keep a manual backup rule.
Is MQTT useful for pet feeder integration?
MQTT is useful when the feeder, bridge, or custom device publishes reliable states and accepts clear commands through MQTT topics. It is not useful if the feeder does not expose compatible data or commands.
Can I use a smart plug for a pet feeder integration?
A smart plug can help monitor power status, but it usually cannot confirm that food was dispensed or eaten. Do not use power cycling as a feeding method unless the feeder instructions clearly support that behavior.
What should I automate first?
Automate alerts first: offline warnings, cleaning reminders, desiccant replacement reminders, and bowl-check prompts. Add feeding actions only after the feeder is calibrated, stable, and protected against duplicate commands.
The best smart-home feeding setup is not the most complicated one. It is the one that keeps meals boring, measured, visible, and safe. A home assistant pet feeder integration should make the feeding routine easier to verify, not easier to break with clever automation.